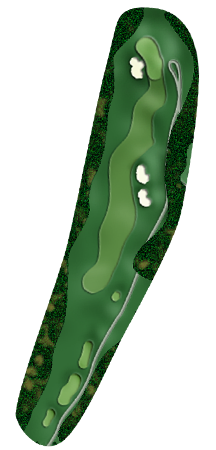
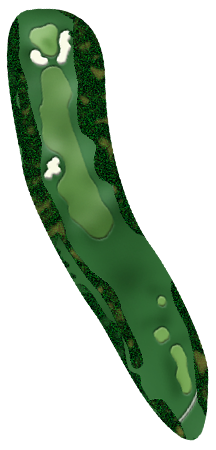
The opening hole on the Crossings course is a straight-away par-4. Play your tee shot down the right side of the fairway to leave the best angle to the green. A deep bunker guards the left side of the green.
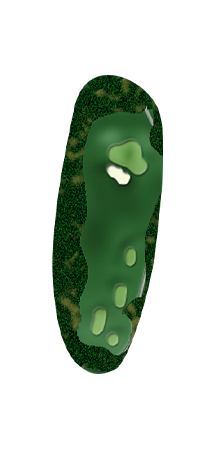
Hole No. 2 is a par-3 that usually requires a mid-to-long iron from the tee. Avoid the bunker guarding the entrance of the putting surface. The green is elevated and wide.
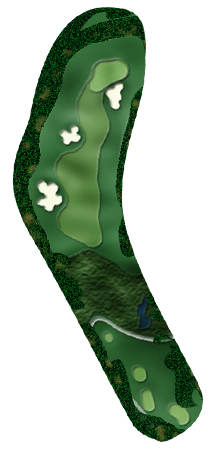
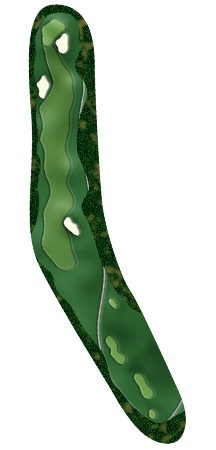
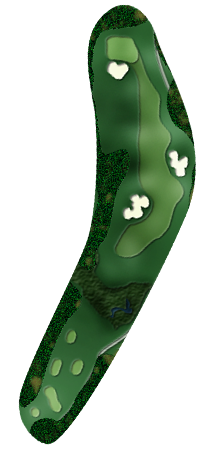
The par-4 third hole is a dogleg right where position is more important than distance. The second shot should be with a short iron and requires precision to knock it close on this large green. The green is partially hidden from the fairway and protected by a large bunker on the right.
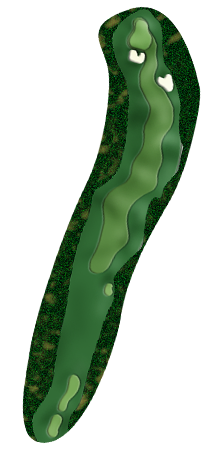
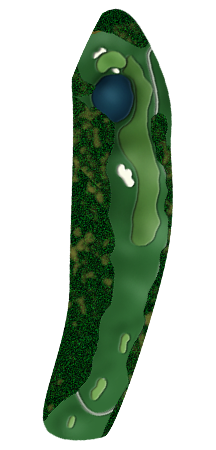
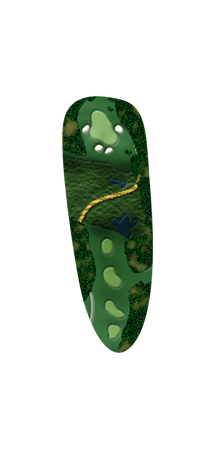
Hole No. 4 begins with a blind tee shot over a hill. The green on this par-5 is reachable in two, but you must avoid the wetlands on the left and a steep bunker guarding the front of the green.
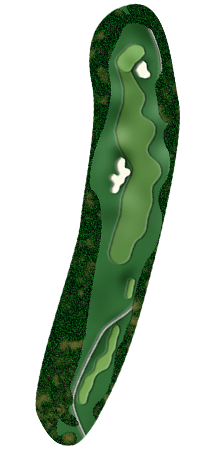
Drive the ball to the right of the fairway bunker to find the landing area on the par-4 fifth hole. Your approach shot with a mid-to-short iron must avoid the lake and bunkers guarding the green.
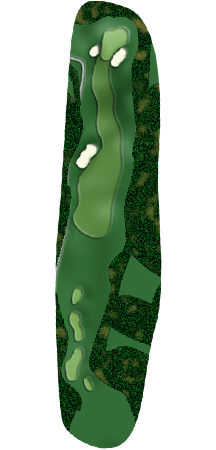
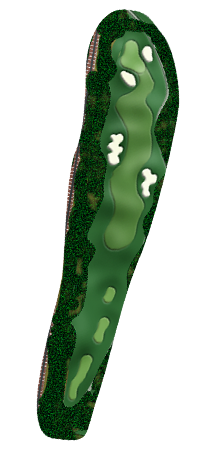
Play your tee shot left of the fairway bunker off the tee on the par-5 sixth hole. Your second shot must avoid a bunker guarding the left side of the fairway. The green is elevated and slopes mostly from back to front.
Position your tee shot at the top of the hill on the par-4 seventh hole. A premium is placed on proper club selection to avoid the greenside bunker on the left and severe drop-off on the right.
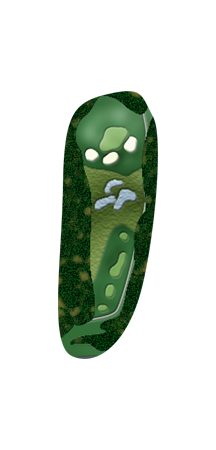
Choose plenty of club before hitting your tee shot on the par-3 eighth hole. The green is perched high above wetlands and guarded by two pot bunkers in the front. Two more pot bunkers guard the left and right side of the deep green.
The ninth hole is an uphill par-4. A long tee shot to the right side of the fairway will leave you the best angle into the green. A mid-to-long iron will be needed for your second shot, which must avoid the large bunker on the left.
A long tee shot over wetlands, avoiding the left fairway bunker, affords the best position for your second shot on the par-4 tenth hole. A well-struck mid-iron should place you safely on the putting surface.
Hole No. 11 favors a left-to-right tee shot to leave the best angle to the green on this par-4. The approach shot to the deep, but narrow, green must avoid a massive bunker on the right.
The tee shot on the par-4 twelfth hole is one of the prettiest on the course. Club selection on the second shot is critical to avoid the bunkers surrounding the front and right sides of the green.
Accuracy is key on the par-5 thirteenth hole. Play your second shot to the left and away from the two fairway bunkers. A well-struck short iron will bring you home to this small, but tightly bunkered, green.
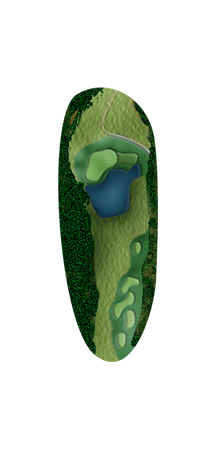
All the trouble lies in front of the green on the par-3 fourteenth hole. Your tee shot must carry a bulkheaded pond to find the putting surface. The green is wide, but not very deep.
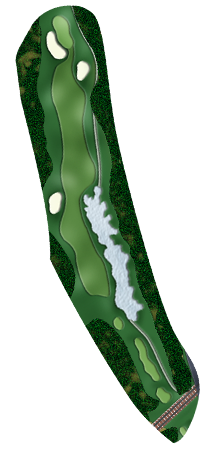
A long tee shot over baha grass to the right side of the fairway avoids a waste bunker and gives the best angle for your second shot. A mid-to-long iron will be needed to reach a long, thin green protected by water.
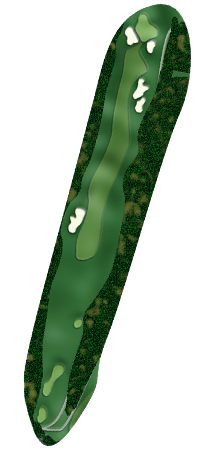
Hole No. 16 is unusual in that the cart path melds into the waste bunker, which is made from crushed oyster shells, and comes out the other side. The par-5 is a slight dogleg right and is a definite three shotter, with the longest green on the course.
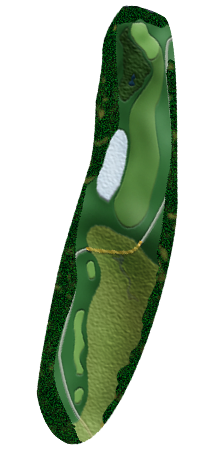
Hole No. 17 is probably the most difficult par-3 on the Crossings course. The green sits above baha grass and bunkers, and your tee shot needs to stay away from trouble to avoid a big score.

Your tee shot on the par-4 eighteenth hole will need to be a good one to reach the green in two. A long iron will be needed to avoid the three bunkers surrounding the green.