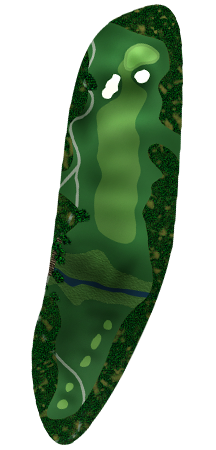
The par-4 first a is a straightaway opening hole. A good tee shot over a valley will leave an uphill approach to a green protected in front by two large bunkers.
Hole No. 2 is a three-shot par-5. Play around or over the fairway bunkers off the tee. Your second shot needs to be positioned short of the greenside bunkers for a short iron approach to an elevated green.

Aggressive players can try to shorten the par-4 third hole by gambling and trying to hit their tee shot over the fairway bunkers. The approach is played uphill to a tricky, undulating green.
The par-3 fourth hole usually plays as a long to middle iron off the tee. Water runs the entire left side of the green and will catch careless shots. Play safe to the right side of the green.

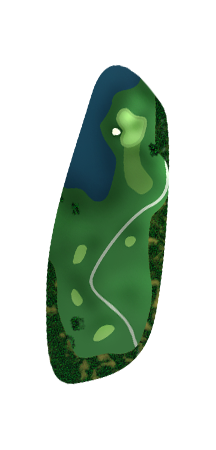
The further left you can play your tee shot on the par-4 fifth hole, the shorter your second shot becomes. Be careful of the lake, though. The approach is difficult to an elevated green guarded by a large bunker.
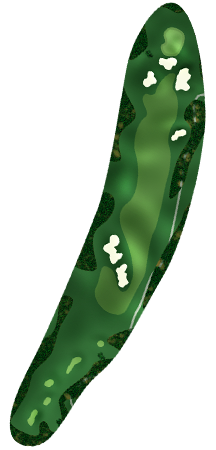
One of the longest holes you will ever play, the par-5 sixth hole was the first on the Trail to top 700 yards. Because of its length, you cannot afford to miss a shot. Avoid the bunkers off the tee and on your second shot. Your third shot will probably play 150 to 200 yards over a marsh to the green!

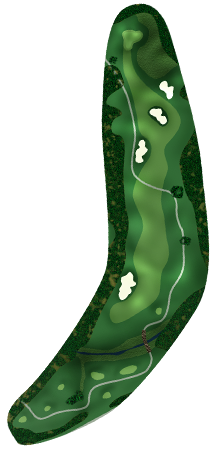
Play your drive on the par-4 seventh hole down the left side of the fairway. Missing too far right will find a downhill slope that could send your ball all the way to the rough. The green is protected by bunkers both short and long.

After making it through the behemoth par-5 sixth hole, the par-3 eighth should provide some relief. At 199 yards from the tips, it is a short par-3 by Trail standards. An accurate iron shot should give you a nice putt at birdie.
Hole No. 9 is Marshwood at its finest! Avoiding the bunker and marsh off the tee is crucial on this par-4. The approach is all carry over the marsh to a difficult green.